
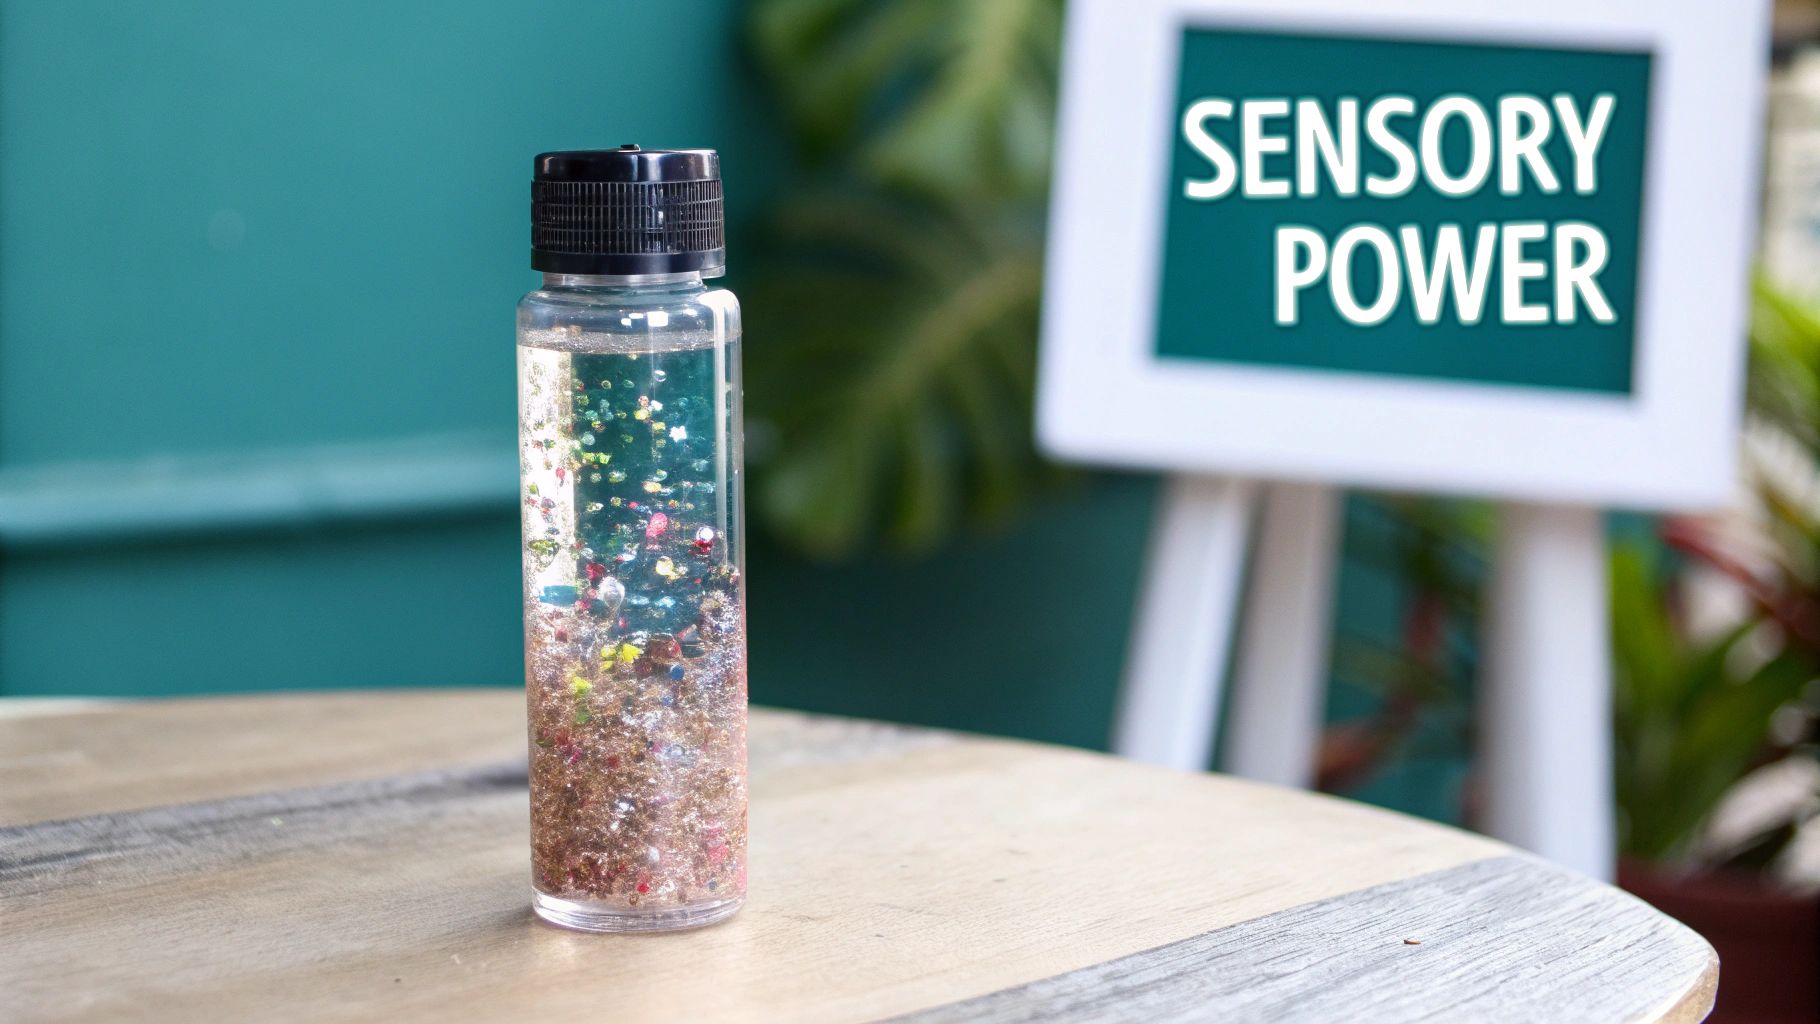
How to Make a Sensory Bottle Your Toddler Will Adore
Making your own sensory bottle is a beautifully simple project. At its heart, it's just a clear plastic bottle filled with a liquid and small, interesting items like glitter, beads, or sequins. You combine a base liquid—water or baby oil work well—with your chosen fillers, and then permanently seal the lid with strong glue to keep it safe for little hands.
The Surprising Power of a Simple Sensory Bottle
Welcome to the wonderful world of sensory bottles! They might just be one of the most powerful—and easiest—DIY tools for your child's development. This guide isn't just about glitter and glue; it’s about creating captivating experiences that genuinely support learning. We'll get into why these mesmerising bottles are so much more than a pretty toy.
Think of them as fantastic tools for encouraging focus, providing calming sensory input, and sparking curiosity, all without any mess. That gentle, swirling motion of glitter drifting through liquid can be just the thing to help a child slow down and regulate their emotions when the world feels a bit overwhelming.
Why Sensory Bottles Matter for Development
At their core, sensory bottles are a brilliant way to support sensory integration. This is the crucial process of how a child’s brain takes in, organises, and makes sense of information from their environment. For babies and toddlers, this is absolutely fundamental to how they learn and grow. If you'd like to dive deeper, you can explore our guide on what sensory integration is and why it's such a cornerstone of early development.
Even the simplest bottle offers a wealth of benefits:
- Visual Tracking: Watching glitter drift slowly or beads tumble helps to strengthen eye muscles. This improves a baby's ability to track objects, which is a key skill they'll need later for reading.
- Fine Motor Skills: Just by grasping, shaking, and turning the bottle, your little one is building hand strength and coordination.
- Cognitive Growth: A sensory bottle is like a mini science experiment. It introduces concepts like cause and effect ("When I shake it, everything moves!") and object permanence.
- Emotional Regulation: For a toddler dealing with big, confusing feelings, a "calm-down bottle" can be a lifesaver. Watching the contents slowly settle can mirror the process of their own emotions settling down.
From my own experience, I've seen how a single bottle can be adapted to fascinate a 6-month-old and challenge an inquisitive 2-year-old. It's a testament to how this simple craft connects to the core principles of stage-based play. You'll finish this guide understanding not just the 'how' but the profound 'why' behind this amazing project.
What You’ll Need to Make Your Sensory Bottle
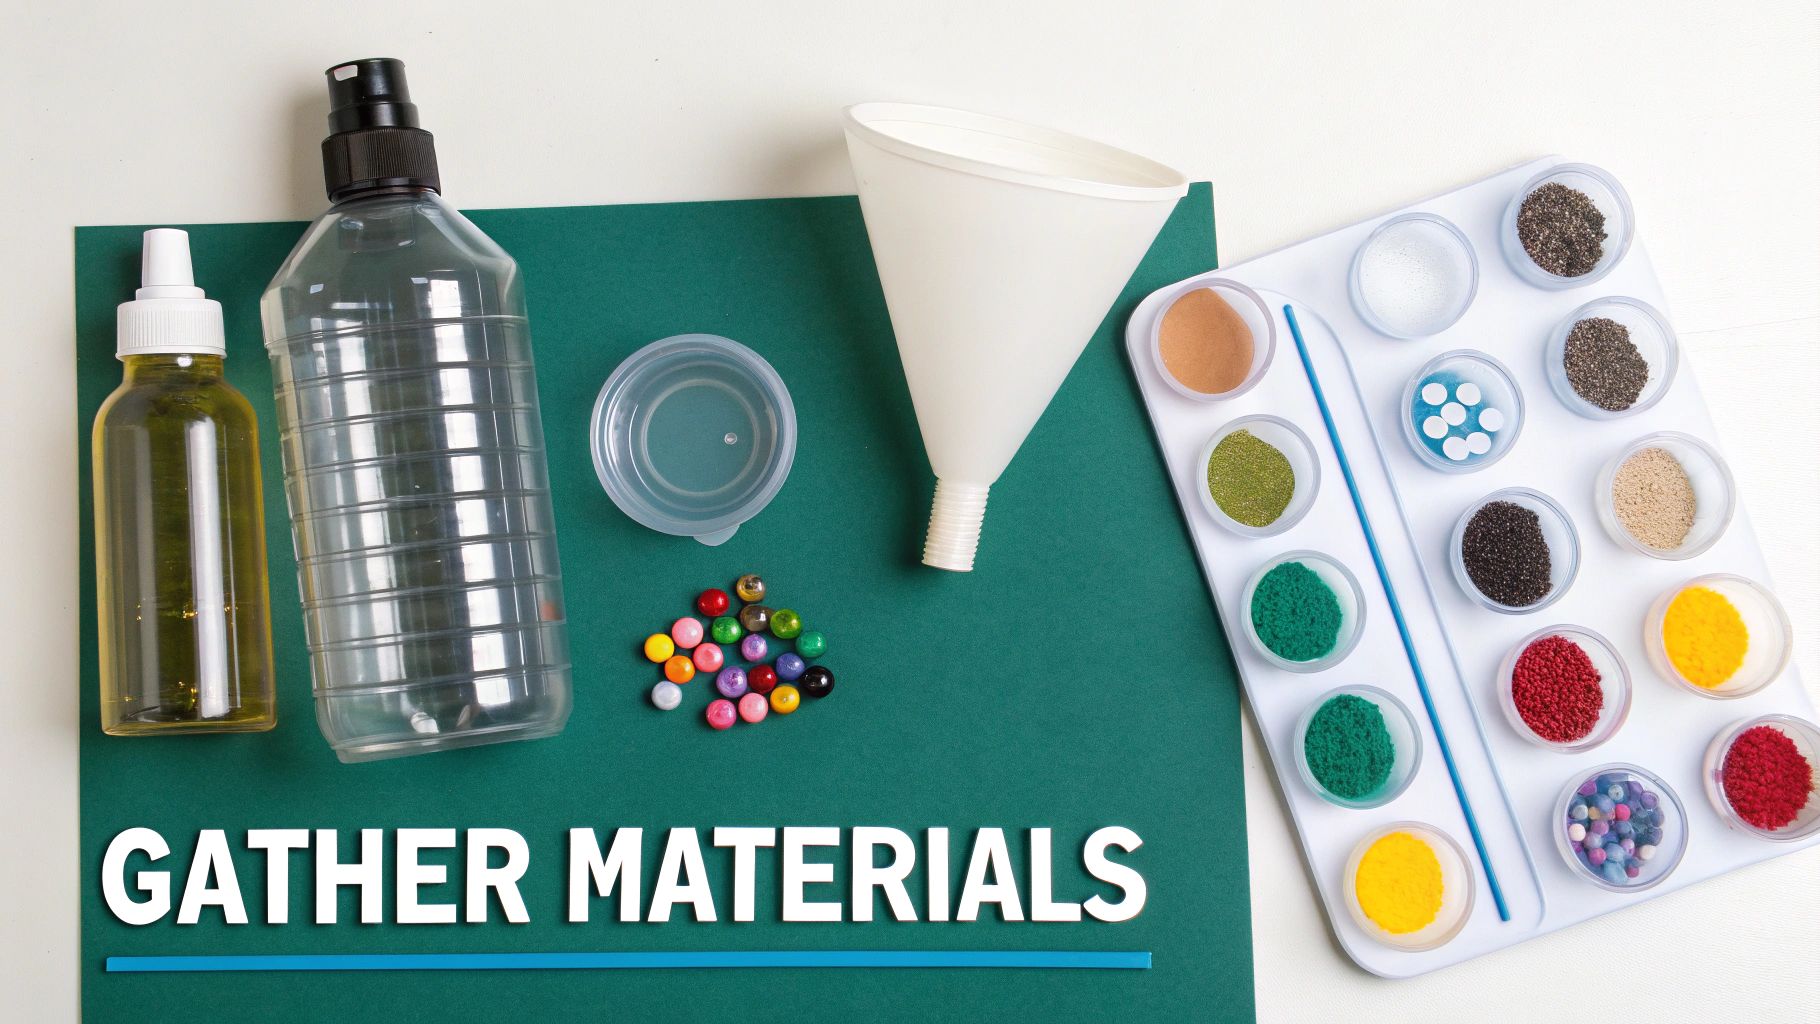
The real magic of a sensory bottle comes from the ingredients you choose. And the best part? You likely have almost everything you need already tucked away in a cupboard. It’s all about combining a few simple things to create something mesmerising for your little one.
First things first, let’s talk about the bottle. This is the one part you want to get just right, because safety and durability are everything. A clear, smooth-sided plastic bottle is your best bet – it’s shatterproof and gives your child an uninterrupted view of the magic inside.
We're seeing this preference for tough, reusable plastics everywhere. The UK's reusable water bottle market is even projected to grow by 4.1% each year from 2024 to 2030. It just goes to show how reliable modern plastics have become, which makes them perfect for a project like this. You can read more about the growth of reusable containers and see the trend for yourself.
Finding the Perfect Bottle
When you're picking a bottle, try to find one that's easy for small hands to grip. Lots of parents love using Voss-style water bottles because of their sleek shape and wide mouth, which makes filling them so much easier. Of course, a clean, empty plastic soft drink bottle works just as well.
Here’s what to look for:
- Material: Go for a sturdy, BPA-free plastic.
- Shape: Smooth, cylindrical bottles are ideal as they don’t distort the view.
- Lid: Make sure the lid screws on tightly before you even think about sealing it.
Choosing Your Liquid Base
The liquid you use completely changes the character of your bottle. There’s no wrong choice here; it all comes down to the effect you’re after. A thicker liquid, for instance, creates a slow, calming flow that's perfect for a "calm-down bottle."
A few popular options to play around with:
- Water: Simple, easy, and great for fast-moving items. Using distilled water can help keep it from going cloudy over time.
- Baby Oil or Mineral Oil: These are fantastic for creating a classic wave bottle. When you add water and a bit of food colouring, they separate beautifully.
- Clear Glue or Glycerine: This is the secret to getting glitter and sequins to suspend and drift slowly. I find a 50/50 mix with water is a great starting point, but feel free to adjust the ratio to get the flow just right.
Here's a little tip I've picked up from making dozens of these: warm water helps clear glue dissolve much more easily and creates fewer bubbles. It's a small thing, but it makes a huge difference to how the finished bottle looks.
Finding Fun (and Safe!) Fillers
Now for the really exciting bit—choosing what to put inside! This is where you can get creative and personalise the bottle based on what your child loves. The goal is to pick items that are visually engaging and, most importantly, safe for their age.
Choosing the right fillers is all about creating a specific sensory experience. Do you want sound? Sparkle? Gentle motion? Items like rice or small pasta shells are great for sound, while different sizes of glitter create a gorgeous, layered visual. Just remember to always choose fillers that are large enough not to be a choking hazard if the bottle were ever to break open.
Choosing safe and engaging fillers is key. Here’s a quick guide to help you pick the right items based on your child's developmental stage.
Sensory Bottle Filler Ideas by Age Group
| Age Group | Safe Filler Ideas | Developmental Benefit |
|---|---|---|
| Babies (6–12 months) | Large pom-poms, wide ribbons, large plastic beads (too big to be a choking hazard). | Encourages visual tracking and focus as objects move slowly. The simple shapes and bright colours are easy for developing eyes to follow. |
| Toddlers (1–3 years) | Glitter, sequins, small plastic animal figures, water beads (with supervision), colourful buttons. | Supports colour recognition, counting ("how many stars can you see?"), and language development as you name the objects inside. |
| Preschoolers (3–5 years) | Alphabet beads, small Lego pieces, themed items (e.g., mini shells for an ocean bottle), dyed rice or pasta. | Promotes early literacy and numeracy skills. Themed bottles can spark imaginative play and storytelling. |
Remember, the best fillers are those that capture your child’s imagination while keeping them safe. Always supervise play, especially with younger children.
Assembling Your Sensory Bottle with Confidence
Alright, now for the fun bit – actually putting it all together! Let's get hands-on and build a sensory bottle that’s not only mesmerising but completely safe for your little one. Think of these steps less as a strict recipe and more as a collection of parent-tested hacks that guarantee a brilliant, durable result every time.
First, let's talk about the bottle itself. The UK baby bottle market was valued at a whopping USD 65.5 million in 2023, and durable plastic bottles made up over 68% of that. That just goes to show how much trust we put in these materials for safety and longevity, which is exactly why they’re such a great choice for this project. You can read more about the UK's preference for durable baby products if you're curious.
Mastering the Perfect Fill
The real secret to that gorgeous, slow-drifting effect that little ones find so captivating is getting the right ratio of liquid to 'stuff'. A good rule of thumb is to fill your bottle about three-quarters full with your liquid base, whether that’s water, oil, or a water-and-glue mix.
This leaves just enough air at the top to let everything move around freely when the bottle is shaken. If you fill it too much, the items will barely have room to tumble. Too little, and they’ll just plummet straight to the bottom.
Here are a few little tricks to make filling your bottle a cleaner, simpler job:
- A funnel is your best friend. Honestly, a simple kitchen funnel will save you from so many spills, especially when you’re pouring in liquids or trying to get tiny beads and glitter inside.
- Add a drop of soap for glitter. This is a game-changer! One tiny drop of clear washing-up liquid or hand soap breaks the water’s surface tension, stopping all the glitter from clumping into a sad little blob. It helps it disperse beautifully for that perfect sparkle.
- Layer your fillers. If you’re using a few different things, pop them in one by one. You could start with heavier items like small pebbles, add your liquid, and then finish with lighter things like sequins that will float on top.
The All-Important Final Seal
Okay, this is the most critical step for safety. A permanent, child-proof seal is absolutely non-negotiable, especially for babies and toddlers. You need to be 100% sure that little hands can’t twist that lid off.
There are two methods that parents I know swear by:
- The Hot Glue Gun Method: This creates a really strong, solid seal. Just run a generous ring of hot glue along the threads inside the bottle cap. You have to work quickly, but screw the lid on as tightly as you can before it sets.
- The Superglue Method: A strong superglue or an industrial-strength adhesive like E6000 works brilliantly. Apply a thin, even layer directly onto the bottle's screw threads and then secure the lid nice and tight.
One crucial tip: Before you even pick up the glue, make sure the rim of the bottle and the inside of the lid are both completely dry. Any little bit of moisture will stop the glue from bonding properly and could weaken the seal over time.
Once the lid is glued on, set the bottle aside for at least 24 hours. This gives the adhesive time to fully cure and harden. After that, your homemade sensory tool is officially leak-proof and ready for hours of safe, happy play.
Creative Themes to Spark Your Child's Imagination

Once you've got the hang of the basic technique, this is where the real magic happens. You can go way beyond simple glitter and beads to create little worlds in a bottle, tapping right into whatever your child is obsessed with this week. It turns a simple craft into a handheld adventure story they helped create.
Whether your little one is roaring about dinosaurs, dreaming of outer space, or splashing in puddles, there’s a theme that will grab their attention. These themed bottles do more than just look pretty; they create brilliant new ways to learn, from chatting about new words to exploring simple science concepts together.
Galaxy Calm-Down Bottle
This one is a classic for a very good reason. The deep, dark colours and slow-drifting glitter are incredibly mesmerising, making it the perfect tool for quiet time or when big feelings start to take over. It's a fantastic visual to help a toddler learn to take a deep breath and watch their worries settle down along with the sparkles.
Here’s what you’ll need to make it:
- A clear bottle
- Warm water and clear craft glue (aim for roughly a 50/50 mix)
- Black or dark blue food colouring
- Fine silver glitter for the distant stars
- Chunky star-shaped glitter or confetti for constellations
- A few drops of clear washing-up liquid (this is my secret tip to stop the glitter clumping!)
This bottle is a lovely, gentle introduction to concepts like space and gravity. You can talk about how the stars twinkle and float, just like the glitter in their bottle.
Ocean Explorer Bottle
Why not bring the wonders of the deep sea right into your living room? This theme is brilliant for introducing new words and chatting about all the different animals and where they live. The way the different liquids move creates a captivating little world.
For this aquatic adventure, you’ll need:
- Baby oil (to fill about one-third of the bottle)
- Water tinted with blue food colouring
- Tiny plastic sea creatures (little fish, turtles, and octopuses are perfect)
- Small shells or blue glass beads to create a "seabed"
When you shake this bottle, the oil and water will mix before slowly separating again, just like waves crashing on the shore. It’s a mini science lesson on liquid density that feels like pure magic to a toddler.
A themed sensory bottle is a perfect example of an open-ended toy. There’s no right or wrong way to play with it, which empowers children to lead their own discovery and storytelling. To further inspire your creations, consider understanding the benefits of open-ended play for toddlers, a concept central to fostering imagination.
I-Spy Bottle for Focus
If you’re looking for a bottle that really gets your child’s brain working, the "I-Spy" theme is a winner. This one is less about calming motion and more about active searching, which makes it a fantastic quiet-time activity that helps build concentration.
The "recipe" is wonderfully simple:
- Fill the bottle about three-quarters full with something like uncooked rice, sand, or lentils.
- Pop in a collection of small, interesting trinkets—think a spare button, a tiny toy dinosaur, a colourful paperclip, a mini pom-pom, or an alphabet bead.
- Seal it up tightly and give it a really good shake to hide everything inside.
You can then start a game of "I spy with my little eye..." and ask your child to find specific items by twisting and turning the bottle. For even more ways to keep your little one engaged, check out these other fantastic sensory play ideas for toddlers.
Weaving Sensory Bottles Into Your Daily Play
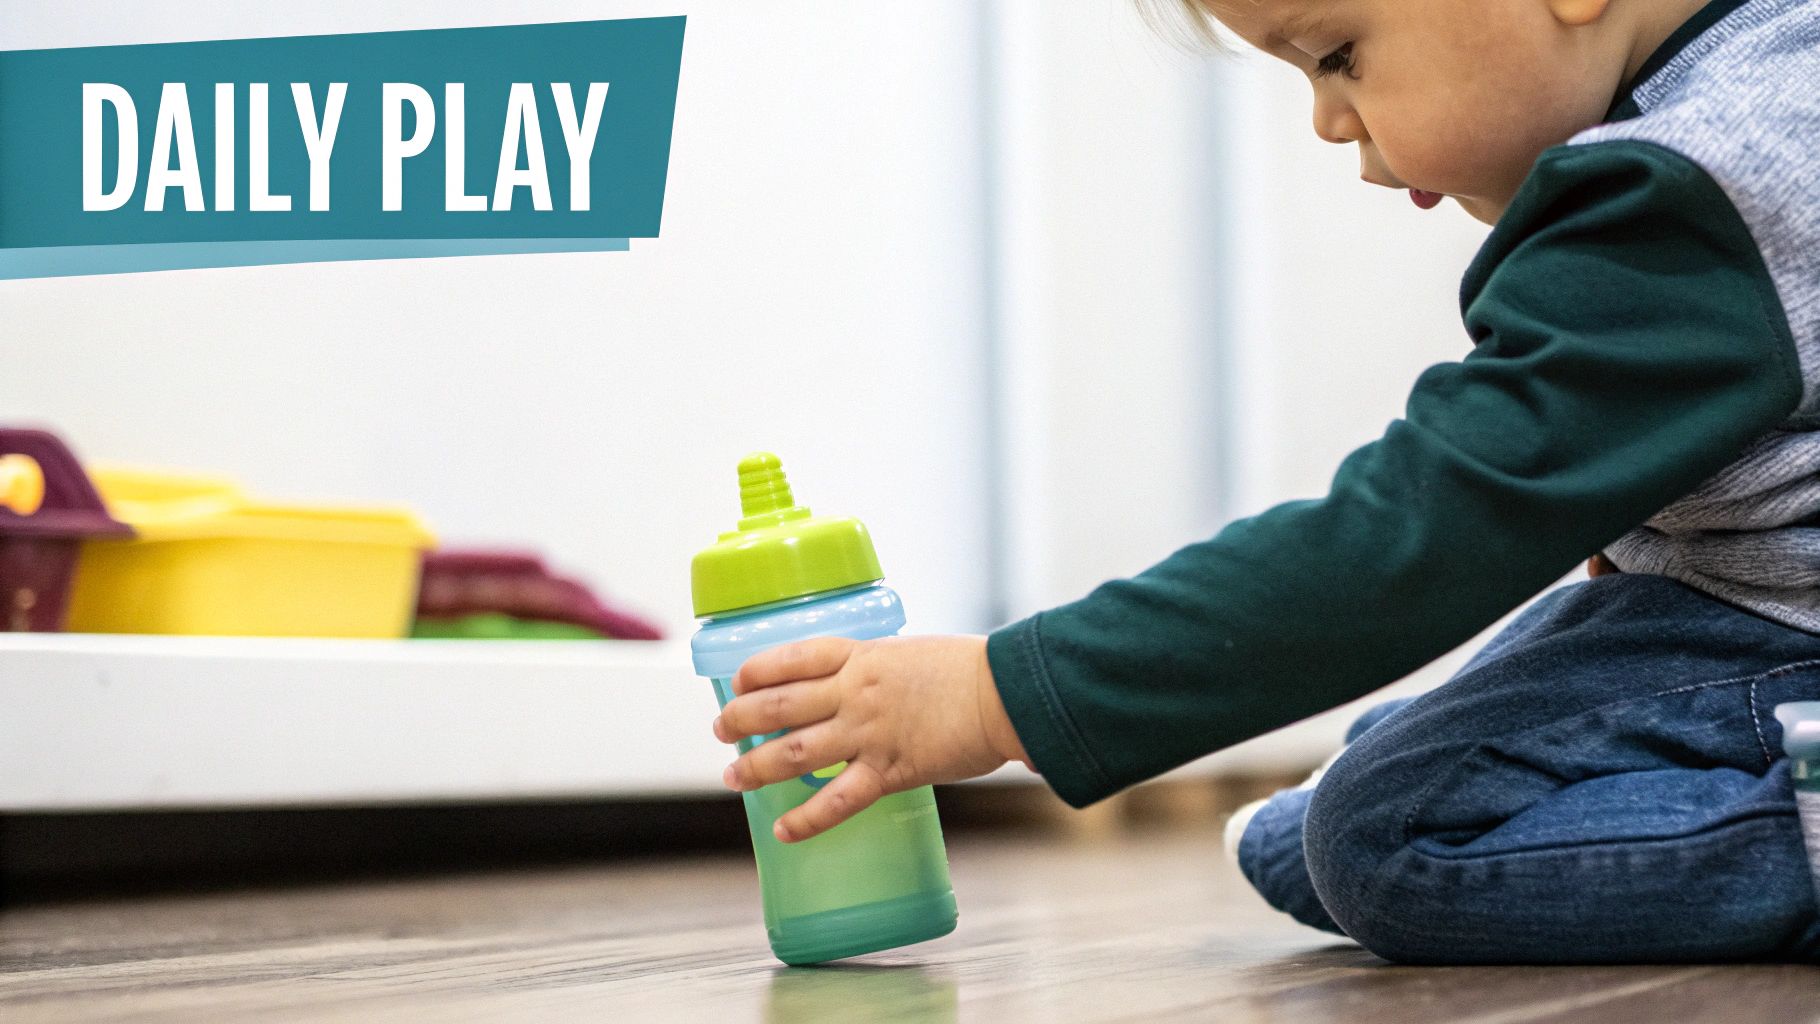
Now that you've put all that effort into creating your gorgeous sensory bottle, the real fun can start. The magic happens when you weave these little creations into your daily life, transforming them from just another toy into a brilliant tool for learning and connection.
For the tiniest babies, a sensory bottle can be an absolute game-changer during tummy time. Try rolling a vibrant, slow-moving bottle just out of their reach. This simple act encourages them to track it with their eyes, lift their heads, and even start pushing up to try and get it. It’s a wonderful way to build that crucial neck and core strength without them even realising it.
Making Play Interactive and Educational
As your little one moves into the toddler years, a sensory bottle opens up a whole new world of possibilities. It becomes the perfect prop for all sorts of interactive games that secretly build essential skills.
- Boost Language Skills: Got an "I-Spy" bottle? Use it as a conversation starter. "Can you find the fluffy yellow pom-pom?" or "How many blue beads can you count?" This simple back-and-forth is fantastic for colour recognition and building vocabulary.
- Encourage Motor Development: A bottle filled with rice and pasta makes a great maraca! Pop on some music and have a shake-along session. This helps your toddler explore rhythm and sound, all while strengthening their grip. For more inspiration, check out our guide on developing fine motor skills with our guide.
- Ease Tricky Transitions: We all know how tough it can be to move from playtime to tidy-up time. A glitter bottle works wonders as a visual timer. Try saying, "Let's see if we can get all the blocks in the box before the glitter settles." It’s far more engaging than just counting down from ten!
Supporting Emotional Regulation
Perhaps one of the most powerful ways to use a sensory bottle is to help your toddler navigate those big, overwhelming feelings. A "calm-down bottle" gives them a real, tangible tool they can use to help regulate themselves.
When you see frustration or a tantrum brewing, gently offer them the bottle. You could say, "Let's watch the sparkles together for a moment." Encourage them to take a few deep breaths as they watch the glitter slowly swirl and settle. This simple, quiet focal point helps to slow a racing heart and a busy mind.
It’s a beautiful way to show them that feelings, just like the swirling sparkles, come and go.
Once you’ve made a few bottles, you'll need a good way to keep them organised and ready for play. Finding the best toy storage solutions can make a huge difference in keeping your space tidy. The sturdy PET plastic bottles are built to last, which is why it's such a popular choice across the UK for its resilience and clarity.
Got Questions About Sensory Bottles? I've Got Answers
Making your first sensory bottle is a lot of fun, but it’s natural to have a few questions bubble up. I’ve been there! Here are the answers to some of the most common queries I get from parents, so you can create your own with confidence.
Are Sensory Bottles Safe for Babies Who Mouth Everything?
This is the big one, and rightly so. Safety is always paramount. When making a sensory bottle for a baby or toddler, the lid must be permanently sealed. I always recommend using a strong, non-toxic adhesive like a hot glue gun or superglue to create a watertight seal.
Before you hand it over, give the lid a good twist and pull yourself to double-check it's rock-solid. It's also a good idea to choose a sturdy, BPA-free plastic bottle that can withstand being dropped (or thrown!). And, of course, only fill it with items that wouldn't be a choking hazard if the bottle were to somehow break.
How Can I Stop My Water-Based Bottle from Going Mouldy?
It’s a valid worry, especially when you’re using lovely natural bits like leaves or flower petals. No one wants to see their beautiful creation turn into a cloudy, mouldy mess!
The trick is to add a simple preservative to the water. A small splash of rubbing alcohol or a teaspoon of vinegar will do the job. You can also crush up a sterilising tablet (the kind you use for baby bottles) and let it dissolve completely before sealing. Using distilled water instead of tap water from the get-go also helps keep bacteria at bay.
Why Is All My Glitter Clumping at the Top?
Ah, the dreaded glitter clump! It’s a common frustration, but thankfully, the solution couldn't be easier. This happens because of the surface tension in the water, which makes all those little glittery bits stick together in a stubborn blob.
All you need is a few drops of clear washing-up liquid or a little squirt of clear hand soap. Just add it to your water and glitter, give it a gentle swirl, and watch the magic happen. This simple step breaks the surface tension, allowing the glitter to disperse and float freely, creating that mesmerising, sparkly effect.
The "right" amount of liquid really depends on the kind of bottle you're making. For a slow, calming flow, you'll want to fill it almost to the top. But if you're making a sound bottle with rice or beads, filling it halfway to two-thirds gives the contents room to shake, rattle, and roll.
As a general rule of thumb, starting about three-quarters full is a safe bet. You can always top it up before you seal the lid for good.
Ready to create a world of wonder for your little one? The Grow With Me subscription box delivers stage-based play kits right to your door, filled with beautiful, high-quality toys that support your child's development every step of the way. Explore our play kits today!